I've been meaning to make myself a makeup bag for quite some time. The one I'm using now is from the dollar store. It's doing the job, but it's pretty cheaply made. I like a bag big enough to hold all my makeup that I use on a daily basis, but small enough that I can easily fit it into my purse to keep it with me "just in case". (Obviously, I have a fairly large purse.)
I have some plaid fabric that I really like, but wasn't sure what to use it for. I decided to use that for my bag today. It's mostly blue and green, but is a pretty thin material. I also had some material that was a little thicker, which happened to match the green in the plaid print, so I thought I would line the bag to make it a little more sturdy so it could stand on it's own.

I started with 2 large rectangles of each fabric.
(The size will vary depending on how large you want your bag to be. I didn't measure anything because I wasn't sure what I wanted yet. I trimmed as I went to get it to the size that I chose.)

Next, cut the rectangles in half. Decide where you'd like the zipper to be. I decided to place the zipper about 1 1/2 inches below the top of the bag. Cut this size piece off only one set of the squares.

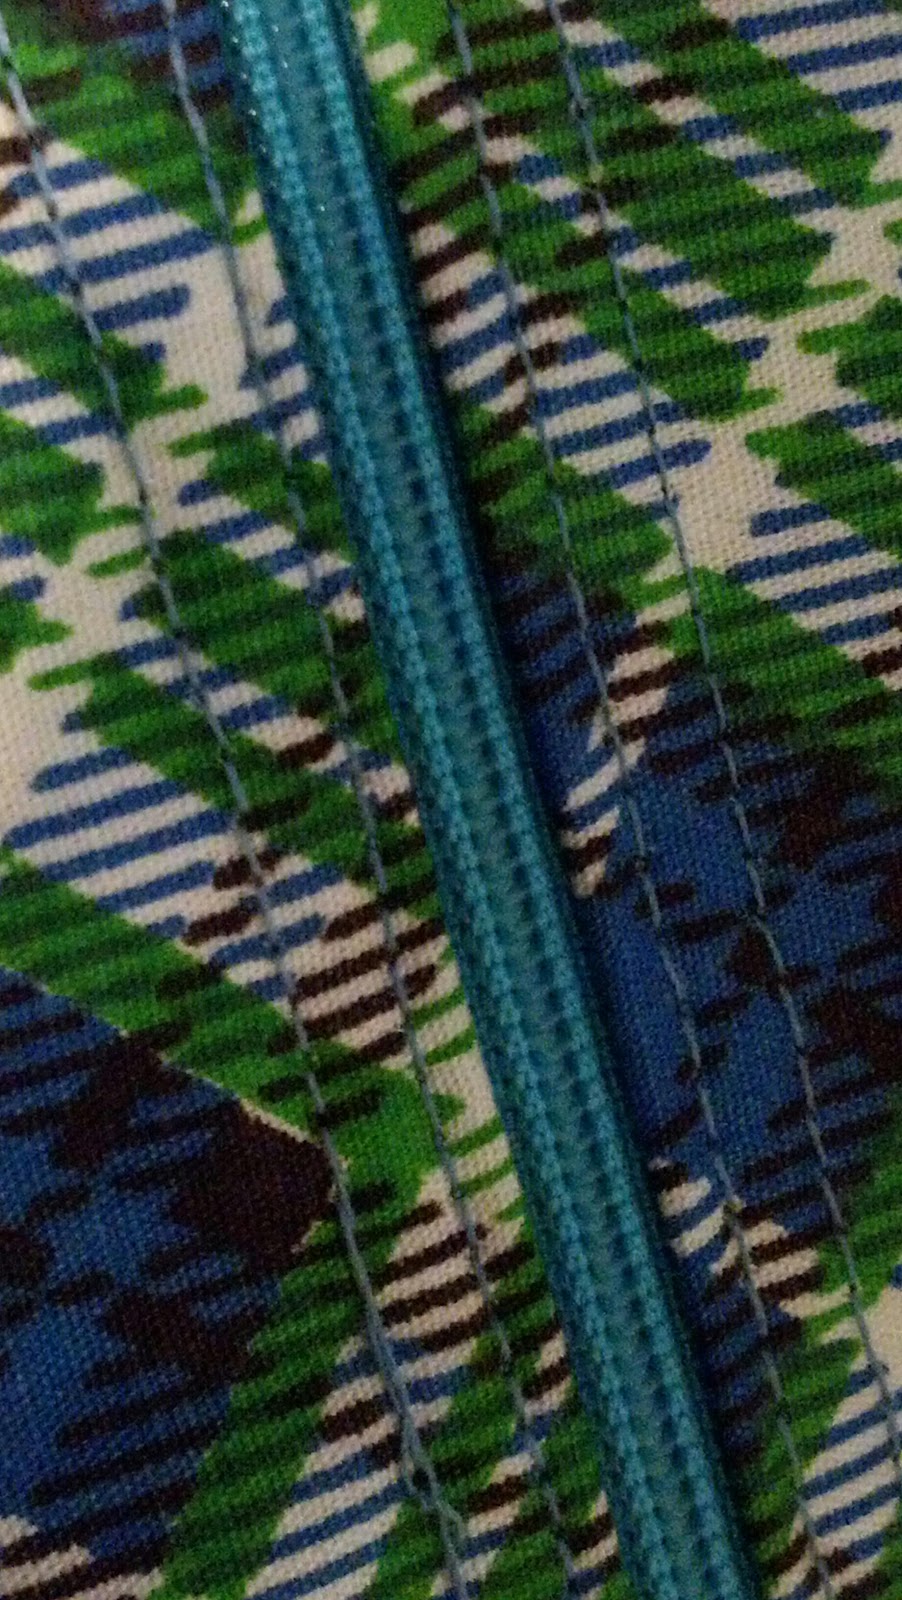
Taking the 2 smallest pieces, place them together (both right sides out) and position the zipper. I kept the zipper closed as I stitched about half way.

Keeping the needle lowered, raise the foot and pull the zipper back. You can then continue the stitch until you're all the way across. Repeat with the larger part of this square on the other side of the zipper.

Open the fabric to the correct position and stitch close to the zipper to keep in place.

After stitching one line, the backside of the zipper was still a little "flappy" for me, so I decided to go over it again and stitch closer to the outer edge of the zipper.

Stitching the second line is completely up to you, but, personally, I really like the look of the second line.
If you want a loop handle on your bag, take an extra piece of fabric.

Fold this piece a third of the way in lengthwise, then fold the other side right over the top. (Pictured below) Iron in place. Fold directly in half. Doing this will give you a simple, but thick, sturdy loop without any fraying edges.

Sew along both edges.

*I'm sorry...I forgot to take a picture of this next step.
Now take the two largest squares and place them together (right sides out). Lay them down (lining side down), position the looped handle where you would like it to be, then place the zippered piece right over the top of it (lining side up). Sew along all four edges being sure to keep the zipper and handle in the correct positions.
Take another extra piece of lining fabric and sew along the bottom hem.

Fold this piece in about 1/4 inch, then again in half and sew in place. Using the zigzag stitch, follow the remaining three edges. (This should be both sides and the top.) In this picture you will notice how it looks at this point.

If you would like a flat bag, you can simply turn the bag right side out and you will be done!

OR....if you want a flat bottomed bag, pinch each corner and sew straight across.

Cut off the excess corners and zigzag stitch.

Now, you can turn it inside out and admire your new makeup bag!


No comments:
Post a Comment