One of my boards on Pinterest is specifically dedicated for "Bags & Purses". I love cute bags, and when you can make them yourself, it's even better! A lot of times you can use similar patterns, just switch up your fabric, and add a few accents to make many different bags that are easy to sew.
I recently joined Weight Watchers, so I have the books to help calculate and track what I'm eating. Unfortunately, the edges are already getting worn because I keep tossing them in my purse on my way out the door. (Usually that means shoving them in, trying to make room, because it's already jam-packed full.) I decided to make a small tote, with a zipper so my books don't fall out, and came up with this!

I used 2 different prints because I like the contrast of the straps, but you can use whatever you like.
This tote bag is lined, padded, and has a zipper closure!
You will need:
(4) Ends: 4 1/2" x 11"
(4) Sides: 11" x 13"
(4) Tops: 2 1/2" x 14"
(2) Bottoms: 4 1/2" x 13"
(2) Straps: 4" x 40"
(1) Zipper: 16-18"
****Batting***
Step 1: Cut out your pieces of fabric, and make sure they are ironed flat and ready to go.

Step 2: Beginning with the straps, fold them in half lengthwise so they look inside out. (Like the strap on the left side in the photo below.) Then, tuck in one end and pull it right side out. Iron them out flat with the seam down the center. Repeat with the other strap and set both aside for later.

Step 3: Now add the zipper to the 4 pieces for the top. (I forgot to take a picture of these steps, but below is what it should look like when you're done.) Place 2 strips, right sides facing each other. Lift the edge and sandwich the zipper between them along the edge, teeth side in. Lay the top flap back down. Pin and sew in place. Turn right side out so the zipper teeth are now on the outside edge, and the right sides of the fabric are facing outward, and sew along the edge closest to the zipper. Repeat on the other side of the zipper with the 2 remaining strips. Set this aside also.

Step 4: Take 2 of the side pieces. Place them facing right sides together. Place a piece of batting on top that is the same size as the fabric.

Step 5: Sew along all four edges, leaving a gap.

Step 6: Turn it right side out and push the corners out. (Don't worry about the gap right now. You will fold it in and sew it shut later.) Repeat steps 4,5, & 6 with the remaining sides and the bottom and end pieces.

Step 7: Once you're done, this is what you should have. Lay the pieces out to be sure they line up correctly. The bottom section is in the center, the ends north and south, and the side pieces west and east.
(Be sure to have the gaps towards the center, not on the outsides.)

Step 8: Fold the gaps inward and lay the bottom piece on top of the long edge of the side piece. Sew in place. Repeat with other side piece.

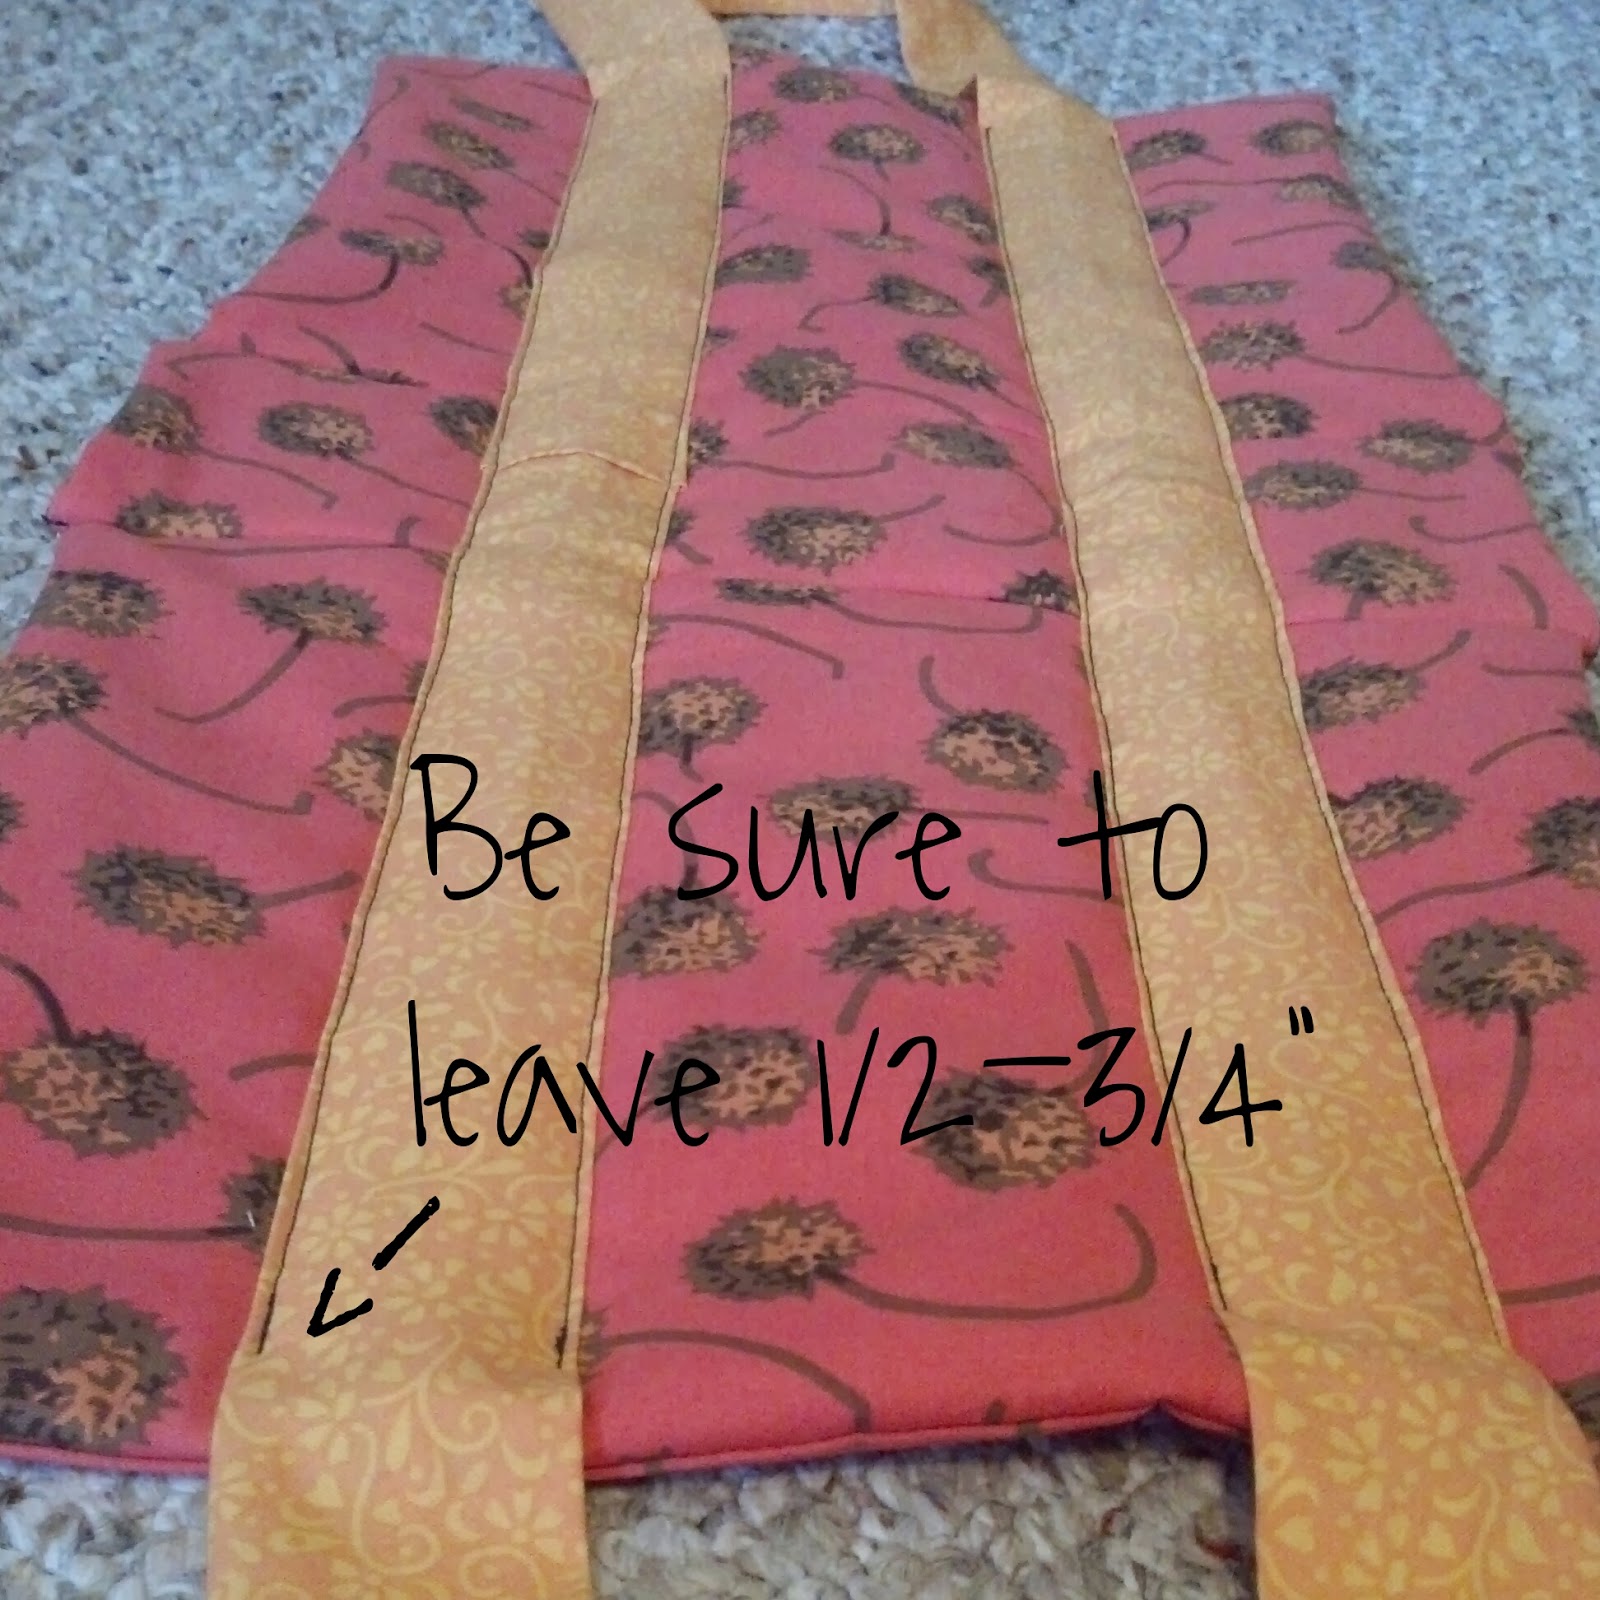
Step 9: At this point, you should be able to lay your "bag" out like this. Grab your straps that you had set aside and arrange them like so. Bring them around to meet in the center of the bottom panel. (This is the outside of the bag.)

Step 10: Fold the straps inside each other to make a clean line. Pin in place.

Step 11: Sew along either edge of both straps, being sure to leave a 1/2-3/4 inch gap at the ends.
Step 12: Now line up the end pieces and sew in place.

Step 13: Begin folding the pieces up like a box and pinning the edges. Sew in place. Repeat on all four sides until it resembles a bag.

Step 14: Now grab the zipper section. Fold in edges and iron until smooth.

Step 15: With the bag turned right side out, lay the zipper section across the open end of the bag. Tuck the ends into the bag, and pin in place. Repeat on other end. Do not sew it closed yet.

Step 16: Continue pinning the two long sides of the zipper section to the bag. Sew ONLY the long sides in place at this point.

Step 17: Open the zipper and flip the bag inside out. (Now is when you'll finish the ends of the zipper section.) Sew across each end. Trim off excess fabric. (This is the inside of your bag.)

Step 18: Now turn the bag right side out again, and finish off the ends of the zipper section by sewing along the edges.

That's it! :)

HOWEVER...
I always seem to add extra steps to my projects. {Don't ask me why. I know I'm crazy.} You can choose to forego the last two steps, if you'd like. Totally up to you!

Step 19 (optional): Lay the bag on it's side so you can have access to the straps.

Step 20 (optional): Fold the strap in half lengthwise and pin in place. Sew along the edge until you get about 1/2 inch away from either end. Repeat on other strap.

Okay.....NOW you're done. :)

Perfect for my books!

Now go make your own! :)

No comments:
Post a Comment